
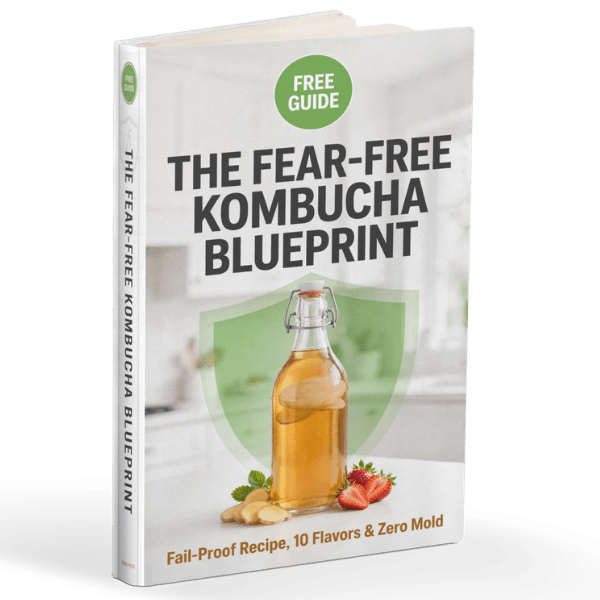
Get this FREE
10 Flavourful KOMBUCHA
recipes and
how to Avoid MOLD Blueprint.
Grow a SCOBY at Home: A Friendly Step-by-Step Guide for Beginners
If you’re keen to start brewing kombucha but feel a bit nervous about getting a healthy SCOBY, you’re in the right place.
This week-by-week approach helps beginners grow a SCOBY at home, starting from nothing and progressing to your first brew with confidence.
We’ll keep it practical, safe, and focused on what you can do in your own kitchen.
What will you learn?
In this guide, we’ll cover what to expect in the early days, how to tell a healthy film from mould, and when you’re truly ready to begin your first batch.
While every home environment is a little different, the process is straightforward if you follow the steps and the safety checks. Remember: when in doubt, throw it out and start again. Your kitchen safety and health matter most.
To accompany this post, you can follow along with a helpful video that walks you through the same week-by-week journey.
What you’ll need to begin
Now, let’s map out a comfortable path from day 1 to a ready-to-brew SCOBY, so you feel supported every step of the way.
Before you start, gather a few simple items. The video and accompanying resources list these essentials:
1 litre glass jar with a breathable cloth and a rubber band
Black or green tea bags (plain, no added flavours)
White sugar
Raw, unpasteurised apple cider vinegar with the “mother” or a bottle of plain raw kombucha
pH strips (optional, but handy for quick checks)
These items are affordable, commonly available, and keep the process approachable for beginners.
If you’re considering gear, many readers opt for a basic jar and cloth setup to keep things simple and low-cost while they learn the ropes.
Week-by-week: what to expect
Growing a SCOBY is a patience game. Here’s a straightforward outline so you know what to look for each week.
Day 1 (Set-up)
Boil water, brew tea, dissolve sugar, and cool to room temperature.
Pour into the jar, add a splash of raw vinegar or plain raw kombucha, cover with cloth, and secure with a rubber band.
Keep the jar in a warm, draft-free spot away from direct sunlight.
Week 1
You’re looking for a film starting to form on the surface. It may look thin or cloudy at first, which is normal as yeasts begin to establish themselves.
Continue feeding the mixture with fresh tea and sugar if needed, keeping everything clean and covered.
Weeks 2 and 3
The film should begin to thicken and become more distinct. This is a sign that a proper SCOBY is developing beneath the surface.
You may notice a slightly sweeter aroma or a tangier smell as the fermentation progresses—this is typical when the culture is active.
Week 4 (Ready-to-brew signal)
A healthy SCOBY is a pale, opaque disc with a jelly-like texture and a smooth surface. It should be sturdy and not brittle.
Once you can clearly see a surrounding yeast layer and a solid film forming, you’re ready to start your first batch with care.
Remember the safety note: if you see fuzzy, dry, raised spots in green, blue, black, or white, discard the batch and start again.
When in doubt, it’s safer to begin anew than risk contamination.
Mould checks and safe signs
One of the most common questions beginners have is how to tell mould from a harmless film. Here are quick checks to help you stay safe:
Healthy films are generally smooth, uniform, and not fuzzy. The surface should feel slightly gummy or gelatinous rather than dry or powdery.
Colour should be pale when first forming and may darken slightly as it develops. Bright or neon colours, unusual textures, or gritty growths are signs to discard and start again.
If you notice persistent bad smells (beyond the natural tang of fermentation) or continuous colour changes, it’s best to err on the side of caution and begin a fresh culture.
Learning to read your SCOBY takes time.
You’ll gain confidence as you observe the gradual formation and texture changes week by week, and you’ll feel more assured when you start your first batch.
Starting your first batch safely
When your SCOBY looks ready, you’ll make your first batch with care. Here are practical steps to follow:
Keep the brewing vessel clean and well-rinsed. Avoid soap residues that can affect flavour and fermentation.
Use cooled tea (room temperature) and the existing starter liquid to prevent heat damage to the SCOBY.
Pour the tea into your SCOBY jar, leaving space for the SCOBY and starter liquid to mix gently.
Cover with breathable cloth and secure with a rubber band. Keep the jar in a warm spot, away from direct sunlight and temperature fluctuations.
Wait for your first fermentation to finish, then taste and adjust for future brews. If you’re not sure what you should be tasting, start with the basics of tea balance (not too sweet, not overly sour) and adjust gradually over batches.
Brewing is a learning journey. Your first batch may be modest in volume or flavour, but it’s a solid start.
With time, you’ll gain more experience about timing, flavouring possibilities, and how to manage sweet-to-taste balance in subsequent brews.
Frequently asked questions
What is the fastest way to grow a SCOBY at home?
The fastest route is to follow a straightforward setup with a clean jar, proper tea and sugar, and a small amount of starter liquid or vinegar. Keep the environment steady, avoid contamination, and monitor the surface weekly for signs of a film forming. Patience remains important because SCOBYs typically take weeks to develop fully.
Can I use store-bought kombucha to start a SCOBY?
Yes, some beginners use a small amount of raw, unpasteurised kombucha with the “mother” to help establish a culture. If you choose this method, ensure the product is plain and unflavoured to avoid introducing unwanted flavours or additives.
What should I do if I see mould?
Colourful, fuzzy, dry, or raised spots in any hue other than the expected film are warning signs. In that case, discard the entire batch and start again with fresh ingredients and clean equipment. It’s better to restart than risk unsafe fermentation.
Get your free Fear-Free Kombucha Blueprint
Ready to take the guesswork out of brewing?
Download our free Fear-Free Kombucha Blueprint, a practical eBook that walks you through 10 flavours and how to fix mould worries, so you can brew with confidence. Download the free Fear-Free Kombucha Blueprint: Download the free Fear-Free Kombucha Blueprint.
And if you’d like more hands-on tips and weekly brewing videos, please subscribe to our YouTube channel for new content every week.

HEY, DID YOU KNOW…
... Incorporating probiotics into our diet is crucial for maintaining optimal gut health and overall well-being. Probiotics, which are beneficial bacteria, play a vital role in balancing the gut microbiome. This balance is essential for proper digestion, nutrient absorption, and immune function. Regular intake of probiotics can help prevent and alleviate various digestive issues such as bloating, constipation, and diarrhea. Moreover, a healthy gut microbiome is linked to improved mental health, as it can influence mood and cognitive function. Probiotics also enhance the body's natural defenses by supporting the immune system, potentially reducing the frequency and severity of infections. By including probiotic-rich foods like kombucha, yogurt, kefir, sauerkraut, and other fermented products, or by taking high-quality probiotic supplements, individuals can support their digestive health, bolster their immune system, and promote overall wellness.
Learn more in our YouTube Channel.
Why not go and visit our Etsy Store and see our great designs and products
Created with © systeme.io